
|
|
|
|
| |||||||||||||||||||||||||||||||||||||||
|
| |||||||||||||||||||||||||||||||||||||||
Nicaragua Project Description -
The Construction System:
|
click on the image for a larger version. |
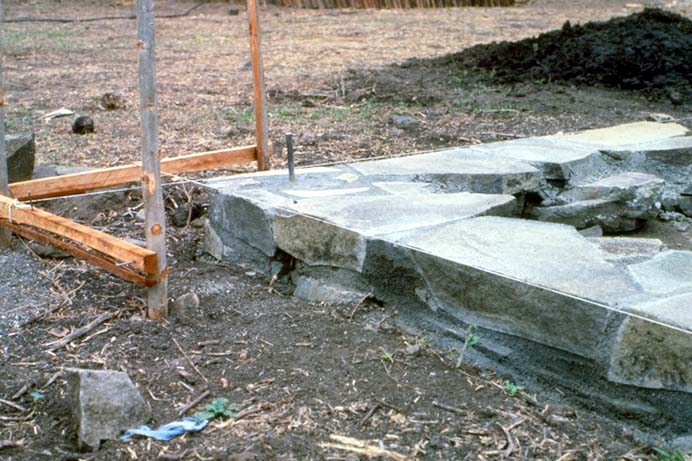
The foundation is of stone using mud mortar up to the level of the natural grade. From natural grade up to a point 6" below the top of the footing no mortar is used. The top 6" is set with cement mortar.
Mud mortar is used below grade to avoid earth filtering down into the voids between stones and causing settlement above. Cement mortar is used at the top to avoid smaller stones becoming dislodged. The mid section does not have this problem because the stones have a heavy weight on them from the stones above. This weight holds them in place and they are not easily dislodged. |
| The mid section is done without mortar to improve the way the wall is built structurally. There is a tendency when using mortar, either mud or cement, to think that the mortar is a form of glue that welds the wall into a solid strong object. In fact the cement mortar joint is very weak in tension while the mud mortar has practically no strength in this respect. The wall must derive its strength from the way the stones are stacked on top of each other. If no mortar is used, then one is forced to stack the stones correctly. In addition, the open joints allow drainage and avoid creating a "dam" behind the footing wall. |
click on the image for a larger version. |
click on the image for a larger version. |
Every 4' a vertical section of the wall is mortared with a steel pin extending from the bottom of the footing to about 4" above the top of the finish floor. The posts will rest on these points and will be set on top of the pin.
For earthquake resistance, the foundation would need to contain horizontal steel and be mortared throughout. |
click on the image for a larger version. |
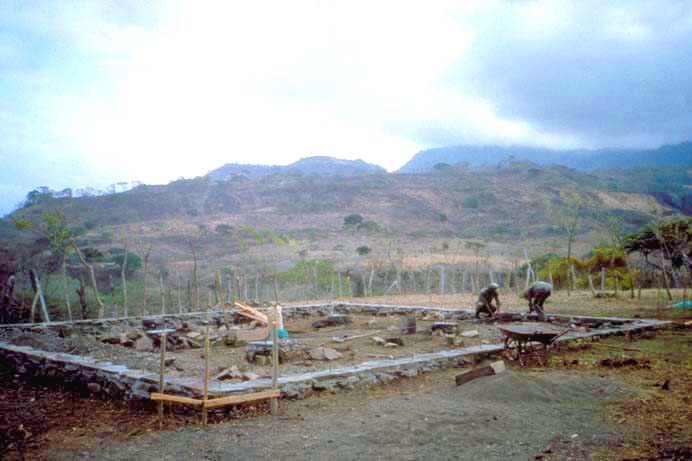
The floor is made of stone. We found a very nice flat shale stone which is very common in the region. A number of different sites were discovered for extracting the stone and in fact the stone workers became very picky in their selection of stone due to the large selection available.
All top soil is removed from the area under the floor. This is because this soil is subject to compaction and can cause settlement and an uneven floor. All organic material is removed to avoid anything growing under the floor. |
The area is then filled with stone and sand up to about 6" below finish floor level. 3" more of fine sand is placed on top of the stone sand mixture and then the flat floor stones are laid onto the sand. Finally (where budget allows) cement mortar is placed between the stones. Excess mortar is washed off the face of the stones leaving a clean border on each stone.
The sand & stone fill is used because it is not subject to settlement as is other earth and therefore the floor will remain even. It also allows good drainage so any water quickly escapes. Further, it does not draw moisture up from the soil below as other soils will do. The last layer of fine sand is used because it is easy to place and level the stone.
Other types of fill can be used with proper compaction. However, we discourage this since in general the compaction is very labor intensive and will not be properly done. If done the soil should be placed in thin layers (less than 6"), lightly moistened, and tamped.
Mortar between the stones is highly desireable. However, the floor can be constructed without it in cases of extreme budget restriction. The result will still be far superior to the on grade earth floors that are common in the countryside.
click on the image for a larger version. |
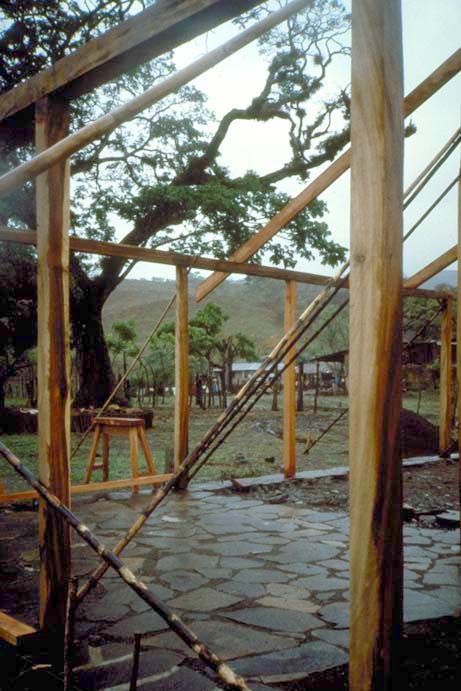
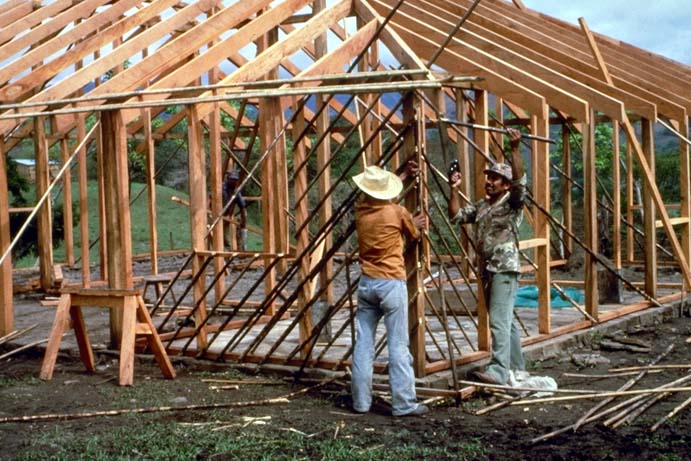
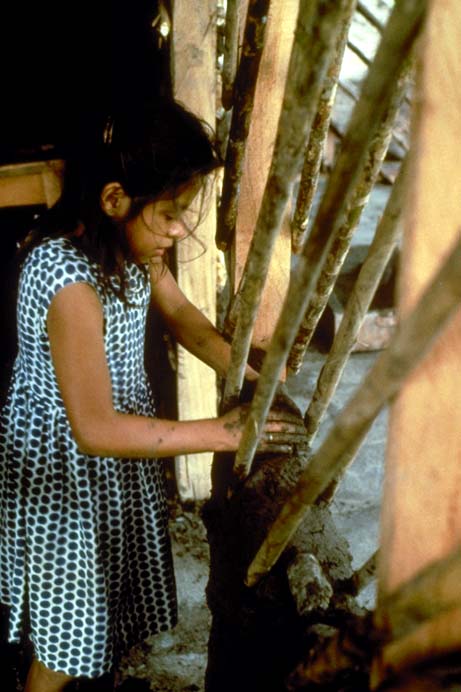
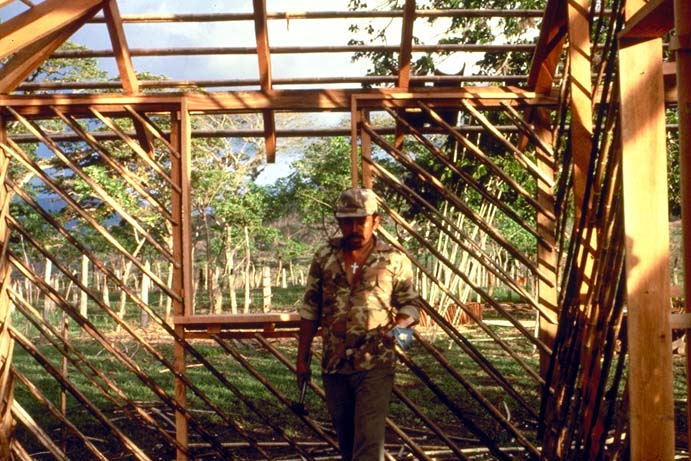
The walls are made from wood posts set on a 2"X4" sole plate. The posts are 4"X4" (3.5"X3.5" net) where they stand alone and at corners and intersections. Inside of walls 2"X4"s are used. The walls are enclosed on their face with cańa castilla placed diagonally (approximately 45 degrees) and spaced at 6" o.c. The space between the cańa is filled with mud and stones. The mud is made from carefully selected soil that will minimize shrinkage and produce a hard outer surface. The wall is then plastered over with a mixture of clay and sand. Finally it is coated with a lime whitewash. (Whitewash is made with lime and salt, see appendix for formula). |
|
Shrinkage and cracking in the wall is very strongly affected by the amount of water in the mud as well as the specific soil used. Because a relatively wet mud is easier to handle there is a tendency to add too much water.
The exterior surfaces of the wall are weathered by the rain and must be whitewashed periodically. This wear is minimized by providing broad roof overhangs. The bottom portion of the wall is most exposed and in existing buildings is seen to be the most weathered part of the wall. Also, in the interior, mopping of the floors erodes the bottom few inches of the wall. As a result we have tried several alternatives for protecting this portion of the wall: 1) Inlaying stone in the bottom 6" of the wall surface, 2) using cement mortar for the finish coat at the bottom of the wall. Since cement does not adhere well to the earth, we expect this later method to be less desirable. |
click on the image for a larger version. |

click on the image for a larger version. |
Posts are placed on top of the stone to keep the wood out of contact with the soil and to keep it dry. This is to minimize problems with rot and insect attack. Free standing posts are set on top of a 1/2" steel bar to pin them in place and should be set on an additional 1/2" of mortar so that there is no possibility that they are sitting in standing water. |
The cańa is placed diagonally to add lateral strength to the building to resist earthquake and high winds. This is much stronger than the common practice of embedding posts into the ground. Although adobe buildings are not strong in earthquakes, the provision of a complete wood frame assures that even if the adobe cracks the building will stand. The objective here is to avoid loss of life and only secondarily to preserve the structure.
The cańa is both strong and rot resistant. We have seen existing buildings around 100 years old with earth walls reinforced with cańa in which the cańa is still intact.

click on the image for a larger version. |
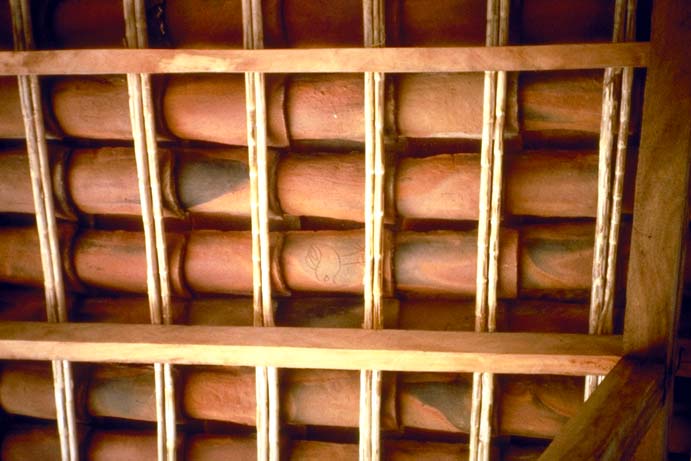
Roof framing is of wood rafters with cańa castilla placed on top of the rafters to support fired clay tiles. Two pieces of cańa are placed side by side and the pairs are set in at 12" on center coinciding with the distance required to support the clay tile. |
click on the image for a larger version. |
Clay tiles are used in the traditional manner for roofing. The tops and edges are set with cement mortar. Traditionally the tiles are laid on the roof sheathing with no nailing or tying. This leaves them vulnerable to being dislodged in an earthquake. To avoid this the tiles should be tied or nailed to the sheathing. |
click on the image for a larger version. |
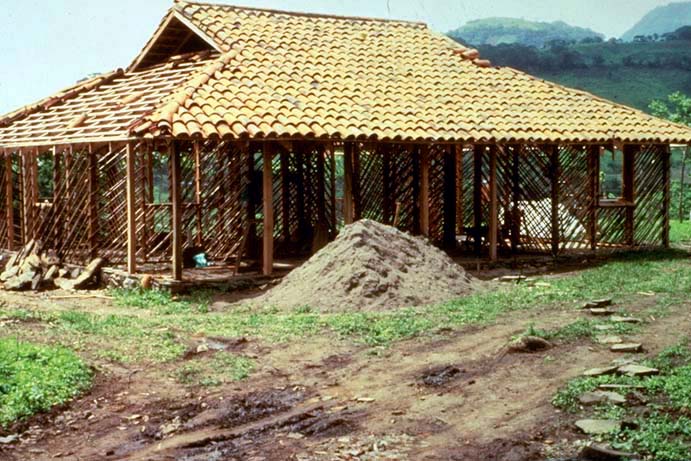
The roof is built with a 6:12 pitch. A common error in the countryside is building roofs with a low pitch. This increases problems with leakage and also deterioration of wood members. 2' overhangs are used on all sides. At the walls they protect the adobe from excess exposure to rain, reduce problems of water entry at all points including windows. The overhangs also provide shading from the sun during critical months. |
| Cańa castilla is a traditional construction material with a form similar to bamboo but with a pithy solid core. It is 1-2" in diameter and 12-20' long. It is a remarkable material that should be vigorously investigated, promoted, and utilized. It has exceptional properties which make it very valuable as a building material. It is: |
click on the image for a larger version. |
- Rot resistant. We have seen buildings over 100 years old in which the cańa embedded in the adobe walls was still intact.
- Strong. We have not made strength tests. However, 2 pieces of approximately 1" diameter and spanning 5' were able to support a 165 lb man with no noticeable deflection.
- Grows rapidly. It is ready for harvest in 2 years.
- Has important and well tested uses: as reinforcing in adobe walls and as sheathing in roofs to support clay tile.
- Easily harvested. It can be cut with a machete and carried in bundles by hand, horse, or other means.
- Does not require any exotic or imported technologies for its use and can be worked with simple hand tools.
- Round, therefore joints can be difficult.
- Some tendency to split when nailed, though not extreme.
click on the image for a larger version. |
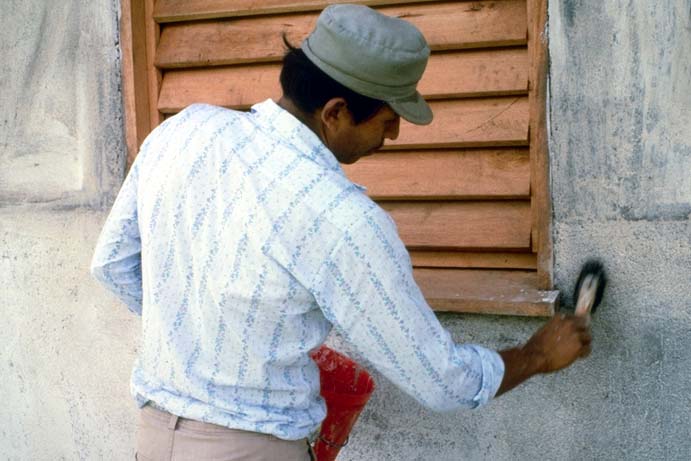
Doors and window are made of wood. We are experimenting with several designs. We have used louvered windows (persianas) which provide control of ventilation and entry of sun. We have also used hinged wooden windows. A problem we are facing is developing a paint or finish that can be made locally. |
| All lumber was produced by the coop members. They cut the trees, slabbed them with a chain saw. Initially the chain saw was used without a guide. Later we introduced a guide which helped produce more uniform cuts but also slowed production. The large slabs were then ripped to width using an electric circular saw. This is very fast and with a ripping guide produces very uniform cuts. Given current costs of equipment and labor, this method is much more economical than lumber produced in large mills. |

click on the image for a larger version. |
We found a number of other benefits to this mode of production. Transportation was minimized because lumber was sawed where it was felled and then used in the nearby zone. Despite the large kerf of the chain saw blade, more of the tree was used than in saw mills because small parts of the tree were used including limbs.
We discovered that lots of trees were felled to clear land for pasture or for other reasons. We were able to obtain quite a bit of lumber simply sawing fallen trees. For a period of time we did not fell any trees ourselves.
However, a limited supply of trees is clearly a problem, both for wood and for fuel. A tree planting program should be a high priority and should be integrated with the cutting program.
1 |
2 |

3 |
4 |
|
5 |
6 |
7 |
8 |
9 |
10 |
|
|
|
|
· home · projects · bulletin board · links · who are we · contact ·